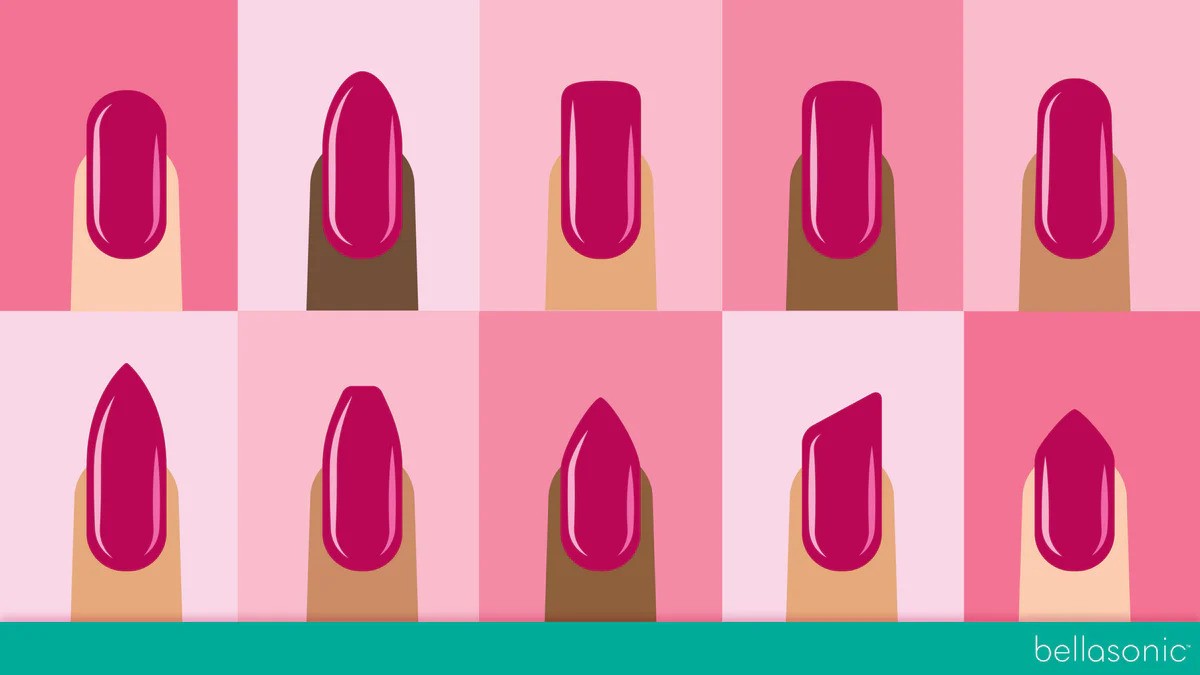

Christmas Nails Ideas and Simple Tips for a Stunning Seasonal Style
Christmas nails bring joy and color to the holiday period. The special designs use bright shades and fun patterns that match the festive mood. Beginners see success with christmas nails because the methods stay simple and require few supplies. People create the looks in short sessions at home or at a salon. The nails turn into small pieces of art that catch attention at parties and family gatherings. Red tones stand out first in many minds when thinking of christmas nails. Green accents follow closely as the second choice. Gold flakes and white dots complete the picture nicely. The whole idea centers on making ordinary nails special for a few weeks. Beginners gain confidence fast once the first coat dries. The process teaches patience and steady hands over time. Many repeat the activity every year as the season returns.
What Christmas Nails Mean
Christmas nails stand for nail art with themes from the winter holiday. The term covers any manicure that includes symbols like trees or stars. People see christmas nails as a way to show excitement for the season without big changes to routines. The styles range from basic color changes to detailed drawings on each nail. Beginners start with one or two nails per hand to keep things easy. The art form grew popular because it offers quick results. Shops sell kits made just for christmas nails every year. The nails display the spirit of giving and joy through colors and shapes. Simple versions work on short nails while longer ones allow more space for pictures. The meaning stays the same no matter the length or shape chosen. New fans learn fast that the focus lies on fun rather than perfection.
Reasons People Like Christmas Nails
People like christmas nails for the instant boost the designs give to any outfit. The nails match sweaters, lights, and decorations all around. Families notice the small details at dinners and feel extra warmth from the effort. The cost stays low compared with new clothes or gifts. A single bottle of polish lasts through several sets of christmas nails. Friends exchange ideas and copy patterns from one another during get-togethers. The nails create a sense of togetherness even when worn alone. Beginners notice compliments right away which builds excitement for the next try. The activity fills quiet evenings with something creative and relaxing. The looks last long enough to enjoy through the whole month without constant fixes. Many say the nails make ordinary days feel special from the first coat onward.
Items Required to Start Christmas Nails
The items required to start christmas nails include basic polish in red, green, white, and gold. A clear base coat protects the surface from stains. A clear top coat adds shine and strength at the end. Fine brushes or dotting tools help draw lines and dots with ease. Nail stickers offer quick patterns for those short on time. Acetone or gentle remover cleans up mistakes without damage. A buffer smooths rough spots before starting. Cotton pads and foil wrap speed up polish removal later. These supplies fit into one small box and last for many holiday seasons. Stores stock everything together in festive kits during the months before the holiday. Beginners pick one design first and buy only what the pattern needs. The list stays short so costs never grow large.
Simple Steps for Christmas Nails
The process for christmas nails begins with clean nails wiped dry after washing. A base coat spreads in one even layer across every nail and dries for two minutes. Color coats come next in two thin layers with full drying time between each one. The top coat seals the color and protects against chips. Designs get added after the color sets using brushes dipped in contrasting polish. Each stroke stays light to avoid smudges. The nails rest untouched for ten minutes so everything hardens fully. Gentle filing shapes the edges if needed once dry. The whole sequence takes under one hour for simple styles. Steady hands come with practice on scrap paper first. The steps repeat easily once the order becomes familiar. Success shows in smooth surfaces without bubbles or streaks.
Favorite Designs in Christmas Nails
Favorite designs in christmas nails feature simple shapes that anyone copies with practice. Trees stand tall on one nail while stars scatter across others. Snowflakes work well on white bases and catch light from every angle. Candy canes twist in red and white stripes down the length of each nail. Bells or gifts appear on accent nails for balance. The patterns mix well with plain colors on the rest of the nails. Beginners pick one design per hand to avoid overload. The nails look complete when the theme ties everything together. Light glitter on the tips adds sparkle without extra effort. These choices stay popular because the shapes stay recognizable from a distance. Friends ask about the steps after seeing the finished set. The designs bring smiles all season long.
Tree Patterns for Christmas Nails
Tree patterns for christmas nails start with a green base coat on selected nails. A brown line down the center forms the trunk once the green dries. Small white dots along the sides act as lights or snow. A yellow star sits at the top for the final touch. The lines stay thin so the tree fits neatly on short nails. Gold glitter at the base mimics presents underneath. The pattern works on all nail shapes and sizes. One tree per hand keeps the look clean and festive. The nails shine under tree lights at home. Beginners trace the trunk first then fill in branches with short strokes. The result feels complete in minutes and lasts through many events. Many return to this pattern every season because the steps stay easy.
Snowflake Styles in Christmas Nails
Snowflake styles in christmas nails use white polish on a dark blue or black base. A dot in the center starts the shape followed by six lines outward like spokes. Small branches off each line create the icy look. Silver glitter dusts the edges for extra frost. The nails glow softly in winter light and match any sweater. One snowflake per nail avoids crowding while still showing detail. Beginners practice the lines on paper before touching the nails. The design dries fast and chips less than thick patterns. The nails feel light and natural even with the art. Friends copy the style after seeing how simple the lines turn out. The pattern brings a cool touch to warm holiday outfits.
Colors That Suit Christmas Nails
Colors that suit christmas nails include classic red for energy and warmth. Green pairs perfectly with red for balance and tradition. White creates clean backgrounds for any pattern. Gold adds luxury and shines under lights. Silver offers a cool contrast that feels fresh. Deep burgundy works as a softer red option for elegance. Black bases make bright accents pop strongly. Glitter in any shade boosts the festive factor instantly. The nails blend well when two or three colors mix across the set. Beginners stick to two shades first to build skill. The choices match wrapping paper and ornaments everywhere. Light coats prevent thick buildup and keep the nails looking neat. These tones stay in style year after year for good reason.
Ways to Keep Christmas Nails Strong
Ways to keep christmas nails strong start with thin polish layers from the beginning. A fresh top coat every three days adds protection against daily wear. Gloves protect the nails during dish washing or cleaning tasks. The nails avoid direct contact with harsh soaps when possible. Moisturizer applied around the cuticles keeps skin soft and prevents cracks that spread to the polish. Light buffing once a week maintains smooth surfaces without removal. The nails last longer when filed gently instead of clipped. Rest days between sets give the natural surface time to breathe. Simple habits like these extend the life of christmas nails from one week to three. The effort pays off in fewer touch-ups and brighter smiles.
Errors That Happen with Christmas Nails
Errors that happen with christmas nails often come from thick polish coats that never dry fully. Bubbles appear when air gets trapped under the brush during application. Smudges form if fingers touch too soon after painting. Wrong base coats cause the color to peel early. Overuse of glitter leads to heavy feeling and quick chips. Skipping drying time between layers creates lumps on the surface. Sharp tools scratch the design instead of adding clean lines. The nails look uneven when shapes sit off center. Beginners fix most issues by slowing down and wiping tools often. Practice on one nail first reduces mistakes across the full set. Awareness of these points leads to smoother results next time.
Extra Ideas for Christmas Nails
Extra ideas for christmas nails include candy cane stripes in alternating red and white. Reindeer faces with tiny black eyes and red noses bring laughter at gatherings. Present boxes tied with gold bows sit neatly on accent nails. String lights made from dots connected by thin lines glow in soft colors. Ombre blends from red to gold create a warm fade effect. The nails mix patterns across fingers for variety without chaos. Beginners add one new element each year to build skill slowly. The ideas spark creativity and lead to custom looks. Photos capture the details so the memory lasts after the polish fades. Each set feels fresh and personal with these touches.
Steps to Protect Christmas Nails After Creation
Steps to protect christmas nails after creation include gentle hand washing with mild soap. Lotion keeps cuticles soft and stops dryness around the edges. The nails stay away from strong chemicals in cleaners. Light tapping instead of prying opens packages or doors. The set receives a fresh top coat layer weekly to lock in shine. Storage in a cool spot prevents polish from softening in heat. Regular checks catch small chips before they grow. The nails maintain beauty through the full holiday stretch with these habits. The extra minutes each day keep the designs looking fresh and complete. Many notice the polish holds color longer when protected this way.
For More Information: Visit Here
Conclusion
Christmas nails offer a simple path to festive joy through color and pattern. The ideas and steps suit beginners perfectly and create lasting memories with little effort. The nails add brightness to every outfit and gathering all season. Basic supplies lead to beautiful results that boost confidence and spark compliments. The process stays fun and relaxing while teaching new skills along the way. People return to christmas nails each year because the looks never lose charm. The tips help avoid common issues and extend wear time for full enjoyment. The value shows clearly in brighter days and shared smiles from the first coat to the last. Anyone gains a special touch of holiday spirit by trying these methods at home. The season feels complete with christmas nails shining on every hand.
Related Post

Selena Gomez Ring A Timeless Symbol of Love and Style
The Selena Gomez ring has sparked endless fascination among fans and jewelry lovers alike. This…